Dragon Warrior
A Look Back at the NES Classic, with a Free Strategy Guide
RPGs are my core focus in gaming, because of the leveling-up aspect and how it relates to growth in the real world. Becoming stronger, becoming wiser, gaining gnosis as it were (the subject of my Search for Gnosis series), is the core of philosophy: a search for the light of truth, and the whole meaning behind Pot and Flame as our tooned-out graphical buddies in The Philosopher’s Pot.
Dragon Warrior is a game that redefined the genre about as well as any ever could. The main protagonist ventures out solo, to rescue the princess and defeat the Dragonlord to restore light to the world of Alefgard. What a wonderful metaphor for my entire philosophical journey: a search for light. Little else needs to be said about the game, whose art was drawn by Akira Toriyama, a legend adored in Japan and the world at whole for his art style and characters, which Enix, later Square Enix, brought to life.

I loved this game enough to rebuild it from scratch - my Dragon Warrior remake is on GitHub - and to write a full strategy guide for it, with maps of every dungeon floor, every shop and treasure chest, and all forty monsters. This article is the lighter tour. The guide has the details.
Start in Tantegel Castle
The king has a very important mission for you. After you create your quest log and give your character a name, you can pick a message speed and then must speak with the king to get your quest. As a descendant of Erdrick, you’re introduced to the world - and the game shows you how to play by doing. You must first find a key in the nearby chest, and then use it to open the door and get outside of the castle. The king has also given you some money to spend at the nearby town of Brecconary. I recommend going there to buy at least the Club. You can probably save up for the better Leather Armor and hop outside to start grinding against some slimes. You may be tempted to face some Drakees or even Ghosts, but you don’t want to die too soon - or you’ll lose half your gold, and half your sanity.
Level 7 Is Your First Milestone
You’ll want to grind the Drakees and Ghosts until you can reach Garinham, and roughly, level 7. Fights against Magicians are doable, and they’re valuable for their higher gold drops. Garinham offers expensive equipment that may be out of your reach for now, but it’s worth returning to later. Beware of bridges as you explore, as they tend to represent transitions to areas where much harder enemies spawn.
Level 10 and the Fairy Flute
Kol is your next objective, around level 10. The enemies across the bridge south of Garinham are useful for grinding, if not deadly. Pan your attention east instead, to the village of Kol, and you’ll find similar enemies, and south of the pond in Kol, the Fairy Flute. It is almost forgivable how obscure the hints were for some of these things - we easily don the lens of nostalgia and forgive them today. Nintendo Power and Nintendo’s own help line often served tips on demand to those who asked, and phone operators were more than happy to answer. I personally wrote a few letters directly to Nintendo long ago, asking for advice in a few games that I got stuck in. They always eagerly wrote back, and thanked me for submitting my question. Their advice was always useful.
(No stamp required these days - the strategy guide marks the exact spot.)
The Dragon of the Swamp
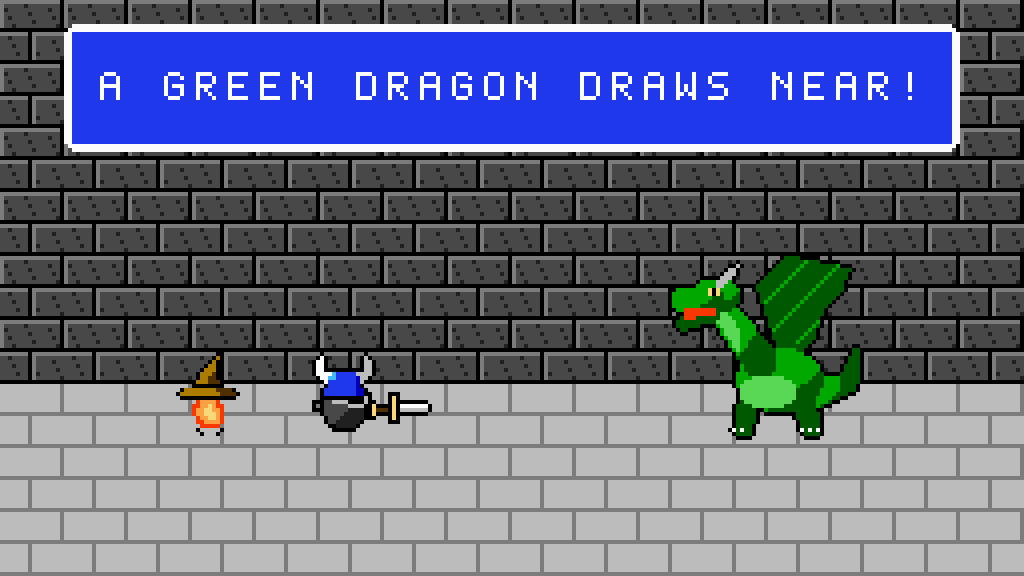
South of Kol is your next objective, to find the magic keys of Rimuldar. You’ll have to go through the Swamp Cave, and the cave feels almost intentionally designed to gravitate you south, on your way through to the easier exit. Explore it too much and unlock the door to the princess you need to rescue, and you’ll find yourself against the Green Dragon. That fight is way too dangerous for you right now, though. Level 14 is your goal there. For now, reach Rimuldar and grind against the Wolves, Metal Scorpions and Wraiths. Rimuldar also has lucrative gear to grind for, if you get the gold. Further south are Goldmen and Wolflords, who might pose too challenging a fight at level 10, but around level 13, they’ll become easier. Use the welcome gold from the Goldman fights to gear up against the Green Dragon.
The Princess and Garin’s Grave
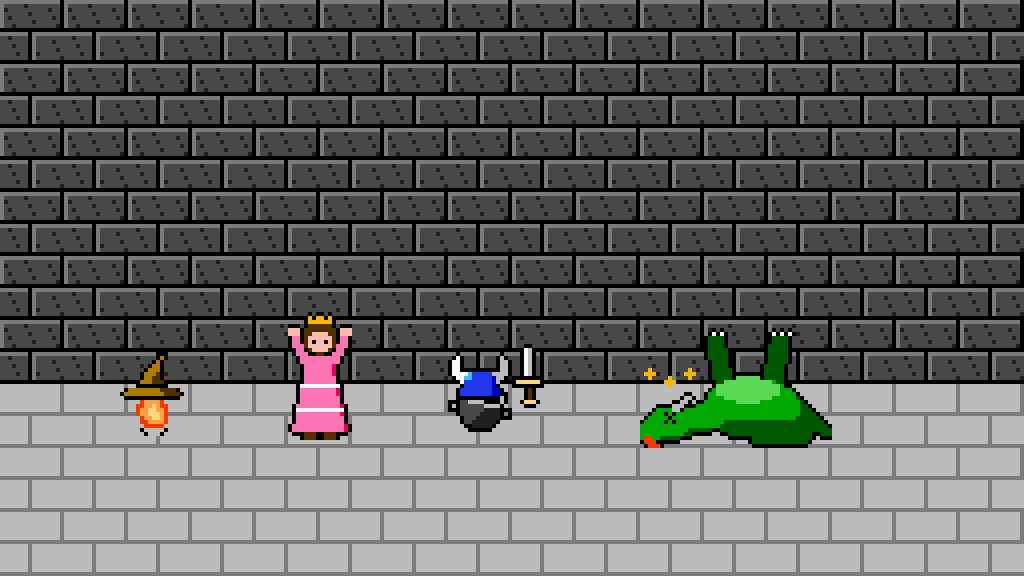
Fight the Green Dragon and rescue the princess. Bring her back to the king. Believe it or not, this part is optional - in the original and in the HD-2D remake alike - and a kind of easter egg for the hero that never returned the princess to the king. Back in Garinham you can unlock a cave with the magic keys from Rimuldar and explore for the Silver Harp and tougher monsters.
The Desert and the Other Mini-Boss
South of Garinham, it’s time to explore the southwest. Along the way is a desert with a ruined town - Hauksness. The enemies inside are devastating, and among them is the Axe Knight, who guards the strongest armor in the game. Skip it for now, because it is certain death until you are ready. Outside, look for the infamous Metal Slimes, whose experience points are massive. As you push against the boundaries and optimize your gear, take the path to the town of Cantlin - your next goal.
Cantlin and the Golem
Before you can access Cantlin, you must destroy the Golem that guards it. It’s an easy fight if you have the Fairy Flute, but you may need to tank a few hits, depending on your luck. In Cantlin, the best shield and exceptional gear are for sale. When you reach level 18 or 19, go for Erdrick’s Armor back in the ruined town of Hauksness.
Putting Together the Rainbow Drop
And now the game’s main puzzle. Way back in Tantegel, a soldier told you, “When the sun and rain meet, a Rainbow Bridge shall appear.” It’s another obscure puzzle, with a few buried treasures you must obtain and then blend together to form the Rainbow Drop. Only with the drop, when used at the right location, can you make a bridge to the castle of the Dragonlord - your final dungeon. You’ll have to find the Stones of Sunlight in Tantegel Castle, proof of your ancestry in the swamp south-east of Cantlin, and the Staff of Rain, which the old man at the Northern Shrine trades you for the Silver Harp. Bring all three to the Southern Shrine, across the bridge south of Rimuldar, and the sun and rain finally meet.
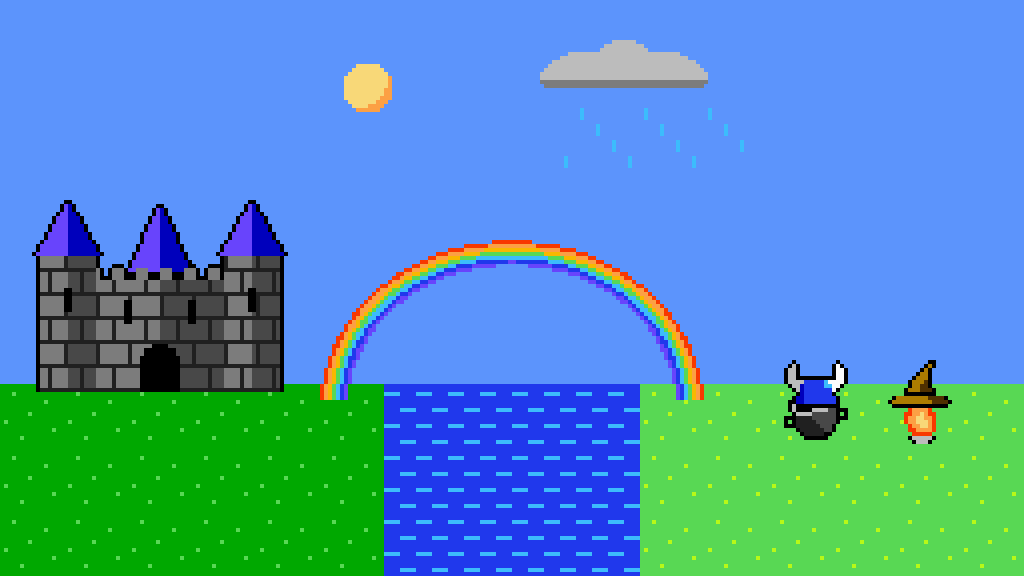
If the clues leave you wandering, the guide walks through each piece, including how to use the princess’s gift as a compass to find Erdrick’s Token.
Into Charlock
Inside Charlock Castle, search behind the throne for the stairs to the dungeon. You want Erdrick’s Sword, which is in a chest inside the massive dungeon. The enemies inside are also the game’s worst, so you may want to grind, return to the inn, grind, and so on, until comfortable. The game’s max level is 30, although you only need about level 23-25 to be victorious against the Dragonlord. He will tempt you with an offer to rule by his wicked side, which is a kind of game over if you should accept. Otherwise, the fight is first against his easier human form, before he turns into terror incarnate. Legendary music plays as you battle. The Dragonlord shrugs off SLEEP almost every time, so your strongest heals and attacks are going to be needed.
To the End
You’ll need to walk back to Tantegel at the end. No enemies will appear, as the Ball of Light shines bright once more. The swamps do nothing to slow you down and damage you either, and this is, in a way, a form of celebration to finally conquer the game that once beset you with random encounters along the way. Additional fanfare and victory music await you in Tantegel Castle, and you can talk to the townspeople along the way. Enjoy the credits, and if you haven’t had the chance to play the original - please do. It is by no means a bad game. It has since been ported to numerous devices, including mobile phones.
And if you’d like a companion for the trip, the strategy guide is free, and my remake is there for anyone curious how it all works under the hood.